If you’re here looking for a way to add NTFS mounted drive to Plex Media Libary and want to avoid the hassle of editing fstab file, then you’ve come to the right place. I’m running Plex Media Server on Ubuntu 16.04 for this guide. After installation, follow these steps to add an NTFS drive folder to your plex server.
Stop Plex Service
Run sudo service plexmediaserver stop from the terminal to stop plex service so that we make changes to plex configuration without breaking anything.
Server Configuration
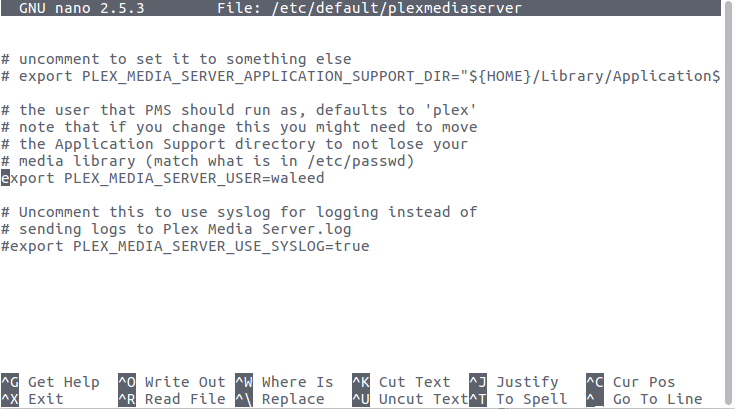
Now edit plex config files. Open /etc/default/plexmediaserver file with an editor of your choice. I’m using nano.
sudo nano/etc/default/plexmediaserver
Find this line export PLEX_MEDIA_SERVER_USER=plex and change plex to your own username.

Systemd Service Configuration
Now we need to override plexmediaserver systemd service configuration and change user and group that runs the server. On Ubuntu run sudo systemctl edit plexmediaserver and add these lines to the configuration file.
|
1 2 3 |
[Service] User=myuser Group=myuser |
After saving, reload sytemd configuration with sudo systemctl daemon-reload
Media Library Folder Permissions
We also need to change Plex Library folder permissions. Run
sudo chown -R youruser:youruser /var/lib/plexmediaserver
Start Server
sudo service plexmediaserver start to start your plex server.
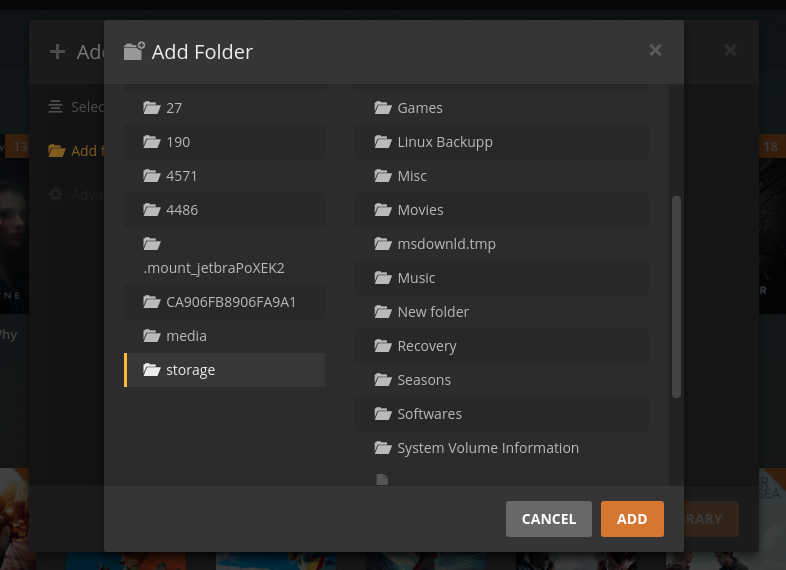
Now you’ll be able to add an NTFS folder to your Plex media library.

Worked without editing /etc/default/plexmediaserver, but by following remaining steps in Ubuntu 20.04
Mint Linux 20 Ulyana: Waleed/Achu, your instructions work perfect.
Ran: “sudo systemctl edit plexmediaserver”
Added: “1:[Service] 2:User=myuser 3:Group=myuser” saved.
Reload sytemd configuration with “sudo systemctl daemon-reload”
Change Plex Library folder permissions: “sudo chown -R youruser:youruser /var/lib/plexmediaserver”
Restart Plexserver: “sudo service plexmediaserver start”
NTFS folder to myPlex media library up and running.
You guys “R” Awesome!