
Creating and running Laravel’s scheduled tasks is pretty straightforward on Linux. All you have to do is to create a cronjob which looks something like
* * * * * php /path-to-your-project/artisan schedule:run >> /dev/null 2>&1
and it will call your Laravel command scheduler every minute to execute due tasks. However, Windows doesn’t have cron jobs. The closest equivalent to cron on Windows platform is Windows task scheduler.I hear a lot of people complaining that it only lets you repeat the task every 5 min. So I’m writing this step by step tutorial on how to create tasks in Windows Scheduler that can repeat every single minute.
Step 1: Run Task Scheduler
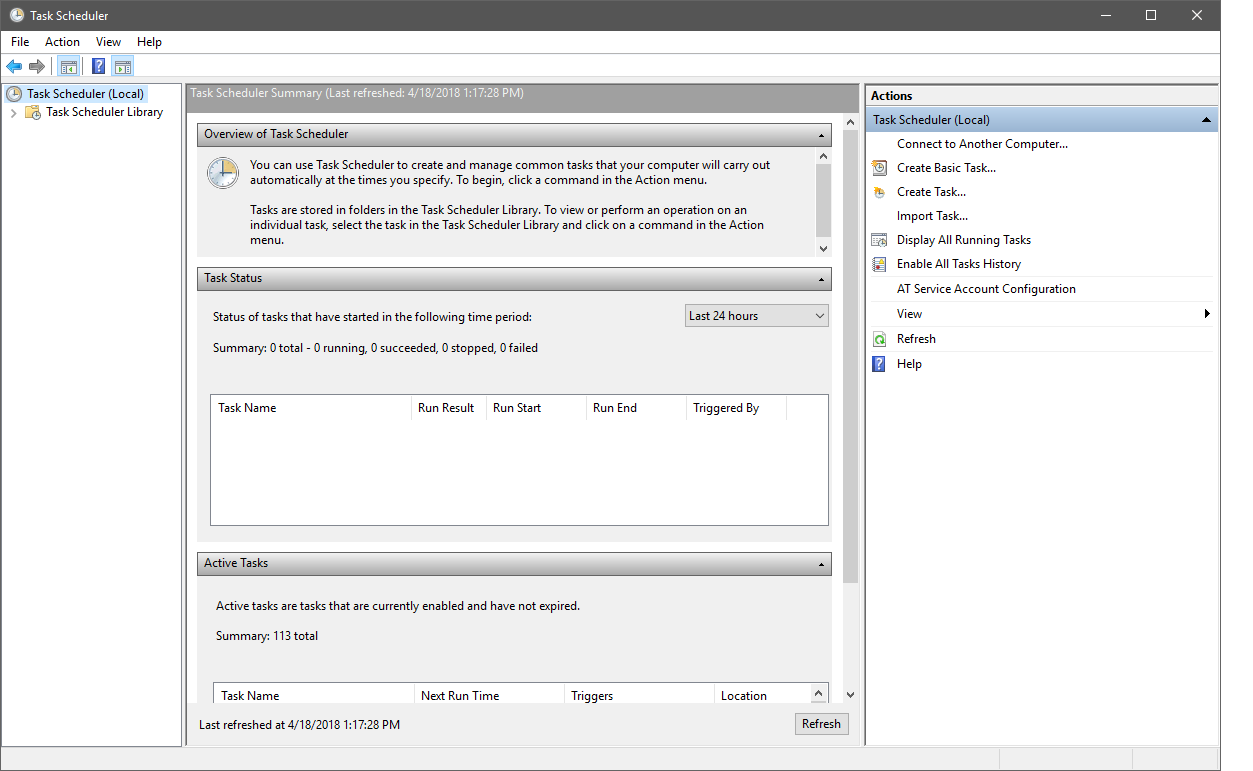
Type Task Scheduler in Windows 10 Search and run it.
Step 2: Create a new task
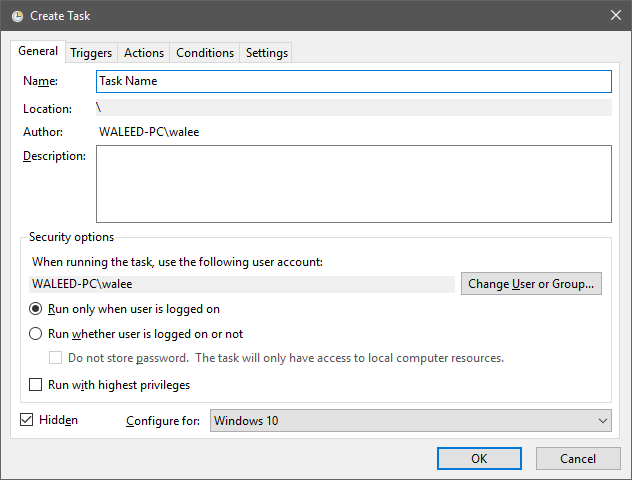
Create a new task by right-clicking on Task Scheduler (Local). Give it a name. Select Run only when the user is logged on and check Hidden to make sure you command line won’t popup every single minute when scheduler runs your task. Select Windows 10 or your preferred platform from Configure for drop-down options and click ok.
Step 3: Create a new Trigger for your Task
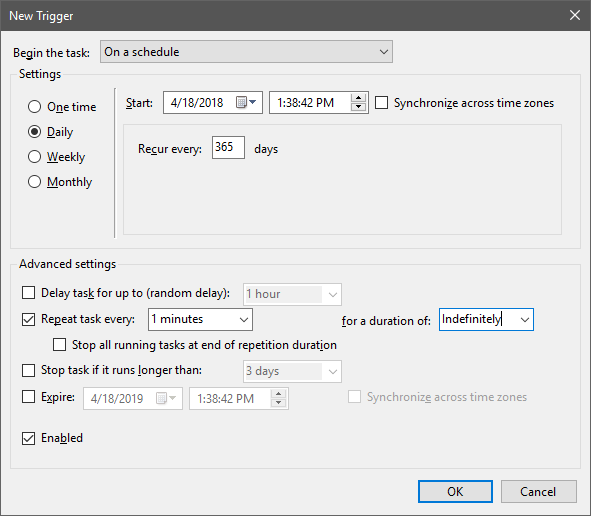
Switch to Trigger tab and click on new to create a trigger for your task. Select Daily and set enter 365 in Recur every days input field. Now move to advance settings and check Repeat task every option and choose 5 minutes from the drop-down. After doing that edit 5 minutes text to 1 minute. Choose Indefinitely for the duration and check enabled. Click OK to move on to next step.
Step 4: Create Actions for your Task
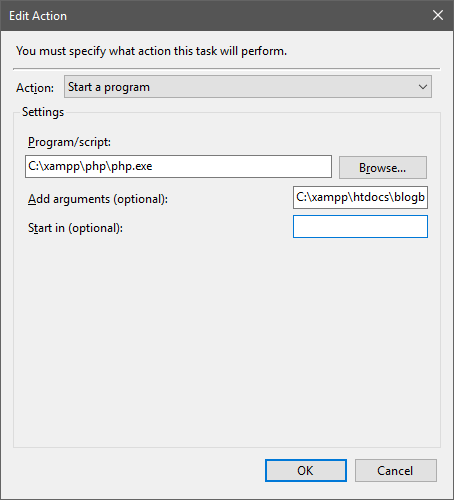
Switch to Actions tab and click on new to create actions for your task. Select Start a Program from the drop-down. In Program/Script input enter your PHP installation path which in my case is C:\xampp\php\php.exe In Add Arguments option enter the path to your projects artisan file which in my case is C:\xampp\htdocs\blogbits\artisan schedule:run Click ok to save your action.
Step 5: Task Settings
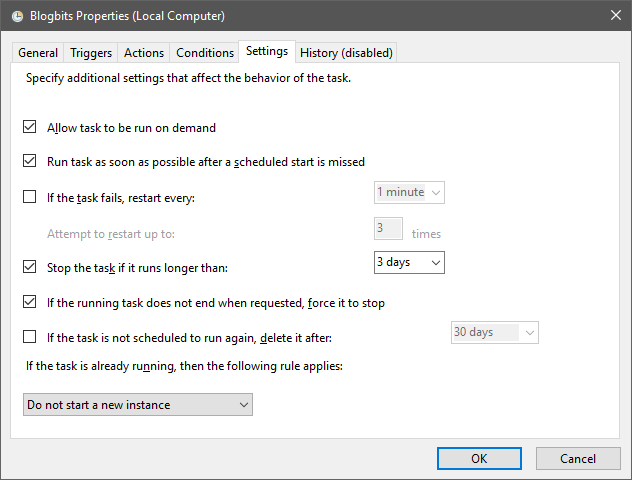
Switch to the Settings tab. Check Run task as soon as possible after a scheduled start is missed and click ok to save.
If every step went smoothly, then you have successfully created a task that triggers every minute. To check if your task is running, find your task in Task scheduler library list and validate last run time.
Very good guide, it´s works for me.
Keep up the good work.
very nice it very helpful please let me me know if you write any code or schedule to send email every sunnday
Thanks, it’s works in Laravel 5.5 and windows 10
Perfect.
how can i view logs for that?
Thanks,
It’s really very helpful for me
Thanks. This topic was usefull for me
Super. Did it right the first time! What a great guide. Thank you, Waleed Ahmad.
you are a hero
Do we need ” /dev/null 2>&1 ” in this situation?
Thanks bro